- 0086-571-85302990
- sales@greenskybio.com


Is It Possible to Make Your Own Extract? A Guide to DIY Herbal and Flavor Extracts
2025-05-18
The allure of creating your own extracts at home has gained momentum among culinary enthusiasts and natural health advocates. Whether for cooking, baking, or medicinal purposes, homemade extracts allow individuals to harness the essence of herbs, spices, and other natural ingredients in a way that adds a personal touch and customization to their creations. Essential extracts, such as vanilla, almond, or even lavender, can be made in your kitchen using simple ingredients and equipment. This article delves into the process of making your own extracts, exploring the benefits, methods, and safety considerations associated with DIY extraction.
Understanding Extracts
An extract is a concentrated form of flavor or active compounds derived from natural sources such as plants, herbs, or spices. The process involves drawing out these compounds using a solvent, typically alcohol or glycerin, which captures the essence and presents it in a liquid form. Extracts are commonly used in cooking, baking, and natural remedies to impart flavors and therapeutic benefits.
Benefits of Making Your Own Extracts
Homemade extracts offer several advantages that appeal to culinary and wellness enthusiasts alike. Here are some benefits of creating your own extracts:
1. Customization: Making extracts at home allows you to customize the flavor or strength according to your preferences. Whether you prefer a robust vanilla essence or a subtle hint of lavender, you can tailor the extraction process to suit your needs.
2. Quality Control: By preparing extracts yourself, you have complete control over the quality of ingredients used. You can choose organic or sustainably sourced materials, ensuring a purer and potentially healthier end product.
3. Cost-Effective: Commercial extracts can be expensive, particularly if you prefer high-quality options. DIY extracts can be more budget-friendly, especially when buying ingredients in bulk or utilizing herbs and spices you may already have on hand.
4. Reduced Additives: Store-bought extracts may contain additives, preservatives, or artificial flavors. Homemade extracts are free from such additives, resulting in a cleaner and more natural product.
5. Sustainability: Making your own extracts can contribute to a more sustainable lifestyle by reducing packaging waste and minimizing the environmental impact associated with mass production and transport of commercial extracts.
Common Types of Homemade Extracts
Numerous plants and spices can be transformed into extracts, each bringing its unique aroma and benefits. Popular homemade extracts include:
- Vanilla Extract: Made from vanilla beans, this is perhaps the most commonly used flavor extract in baking.
- Almond Extract: Derived from almonds, it is used to impart a nutty flavor to desserts and confections.
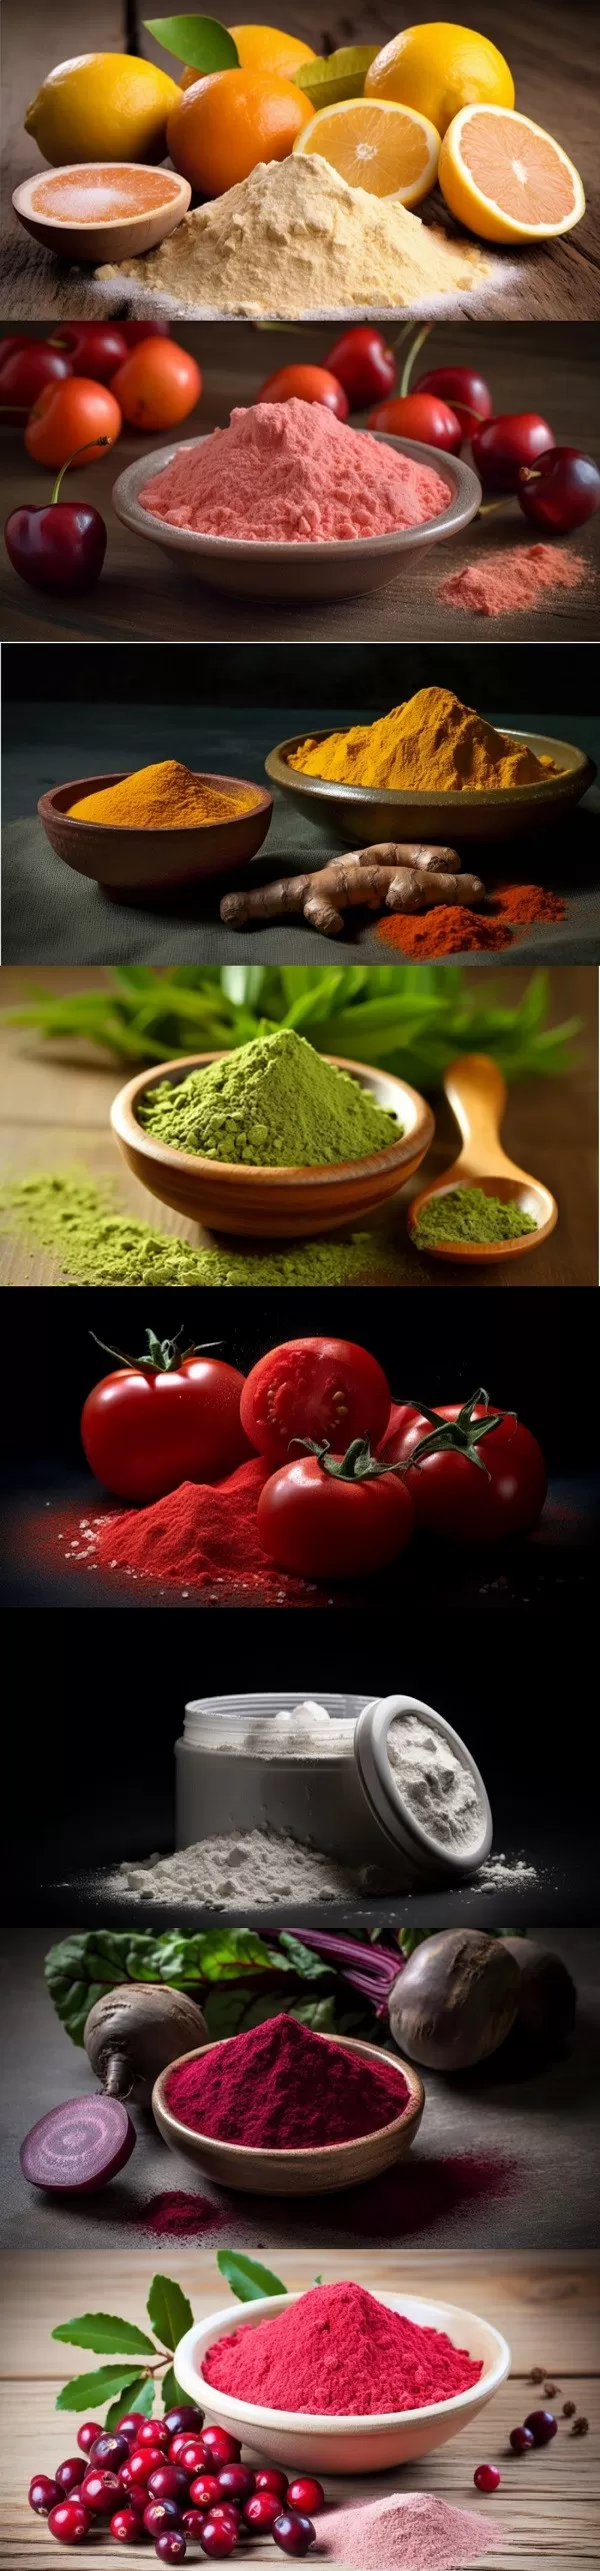
- Lemon or Citrus Extract: Made from lemon peel or other citrus fruit peels, it adds a refreshing, zesty flavor.
- Mint Extract: Derived from mint leaves, it is used for its cooling and refreshing properties.
- Herbal Extracts: These include lavender, rosemary, or thyme, which can be used for both culinary and medicinal purposes.
Steps to Making Your Own Extracts
The process of making your own extracts is relatively straightforward. Here's a basic guide to get you started:
Ingredients and Tools:
- Base Ingredient: Choose fresh, dried, or cured herbs, spices, or botanicals (e.g., vanilla beans, mint leaves, lemon peel).
- Solvent: Alcohol is the most common solvent, typically vodka or another neutral spirit with at least 40% alcohol by volume. Glycerin can be used as a non-alcoholic alternative.
- Containers: Glass jars or bottles with tight-fitting lids (amber glass is ideal to protect from light).
Basic Method:
1. Prepare the Base Ingredient: Depending on the ingredient, chop, slice, or bruise it to increase surface area and ensure a more efficient extraction.
2. Combine with Solvent: Place the prepared ingredient in a clean jar or bottle and cover it with your chosen solvent. A general ratio is one cup of solvent to approximately one-fourth to one-third cup of the base ingredient.
3. Seal and Store: Seal the container tightly and store it in a cool, dark place, shaking it gently every few days to aid the extraction process.
4. Wait and Test: Allow the mixture to infuse for at least four to six weeks. The longer the infusion period, the more concentrated the extract will become. Taste the extract periodically, and continue the infusion process until you achieve the desired strength.
5. Strain and Bottle: Once the extract reaches your preferred strength, strain out the solids using a fine mesh strainer or cheesecloth. Transfer the liquid extract into a clean glass bottle for storage.
6. Label and Store: Clearly label your homemade extract with preparation and bottling dates. Store the finished product in a cool, dark place, where it can last for months, or even years, depending on the ingredient and preparation.
Safety Considerations
While making your own extracts is relatively simple, it is essential to follow safety guidelines to ensure a safe and effective product:
- Use High-Quality Ingredients: Ensure that the herbs, spices, and solvent you use are fresh and of good quality to produce the best results.
- Proper Sanitation: Clean and sterilize all tools and containers to prevent contamination and spoilage.
- Allergic Reactions: Be mindful of potential allergies and the potency of extracts. Use them in recommended amounts to avoid adverse reactions.
- Alcohol Content: If using alcohol-based extracts for consumption, remember the alcohol content, although minimal in most recipes.
Conclusion
Making your own extracts is a rewarding and creative process, allowing home cooks and herbal enthusiasts to connect with their ingredients on a deeper level. With a few simple tools and some patience, you can create high-quality, customized extracts that enhance your culinary creations and provide natural health benefits. As with any home preparation, following guidelines and safety tips ensures a successful DIY extraction experience, resulting in pure and flavorful products to enjoy and share. Whether you're crafting vanilla extract for baking or mint extract for brewing soothing teas, the possibilities are varied and exciting on your journey to homemade extracts.


- ▶ Hesperidin
- ▶ Citrus Bioflavonoids
- ▶ Plant Extract
- ▶ lycopene
- ▶ Diosmin
- ▶ Grape seed extract
- ▶ Sea buckthorn Juice Powder
- ▶ Fruit Juice Powder
- ▶ Hops Extract
- ▶ Artichoke Extract
- ▶ Mushroom extract
- ▶ Astaxanthin
- ▶ Green Tea Extract
- ▶ Curcumin
- ▶ Horse Chestnut Extract
- ▶ Other Product
- ▶ Boswellia Serrata Extract
- ▶ Resveratrol
- ▶ Marigold Extract
- ▶ Grape Leaf Extract
- ▶ New Product
- ▶ Aminolevulinic acid
- ▶ Cranberry Extract
- ▶ Red Yeast Rice
- ▶ Red Wine Extract
-
Bitter Melon Extract
2025-05-18
-
Tongkat Ali Extract
2025-05-18
-
Marigold Extract
2025-05-18
-
Artichoke Leaf Extract
2025-05-18
-
Golden Seal Extract
2025-05-18
-
Sea buckthorn oil
2025-05-18
-
Moringa powder
2025-05-18
-
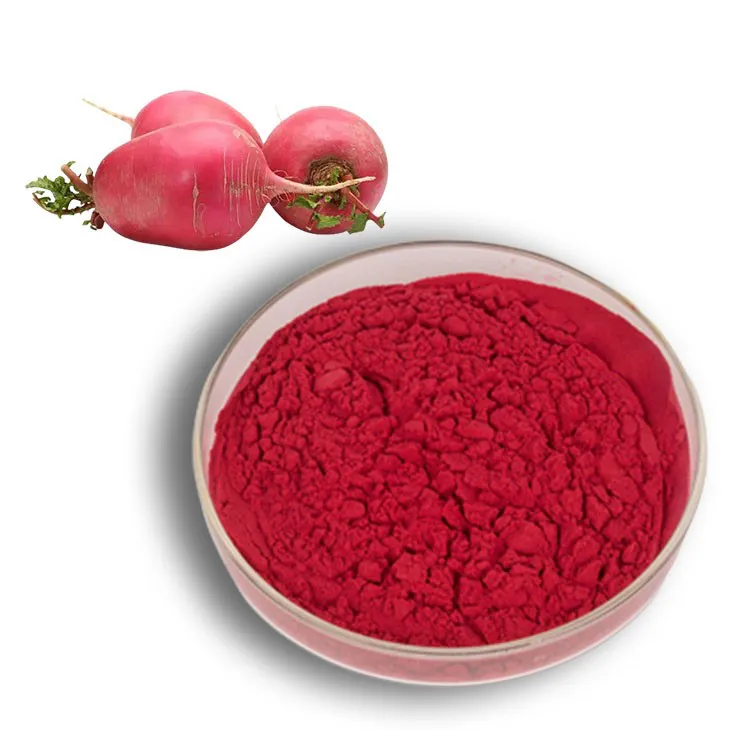
Beetroot Powder
2025-05-18
-

Hops Extract
2025-05-18
-
Astaxanthin
2025-05-18
